How to Make a Normal Map from a Texture?
Normal maps are crucial for adding depth and detail to 3D models without increasing the polygon count. By manipulating how light interacts with a surface, normal maps create the illusion of complex details like bumps, grooves, and crevices, making them indispensable in modern 3D modeling and rendering. This essay will explore how to create a normal map from an existing texture, the tools you’ll need, and best practices for achieving high-quality results.
What Is a Normal Map?
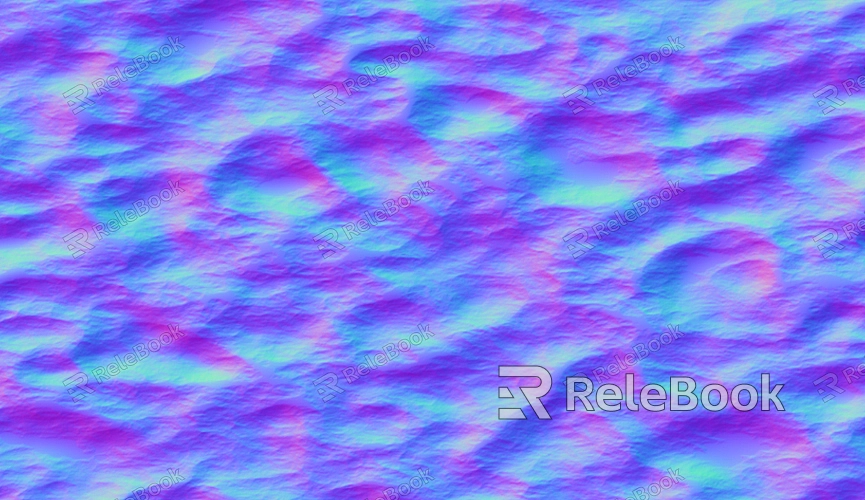
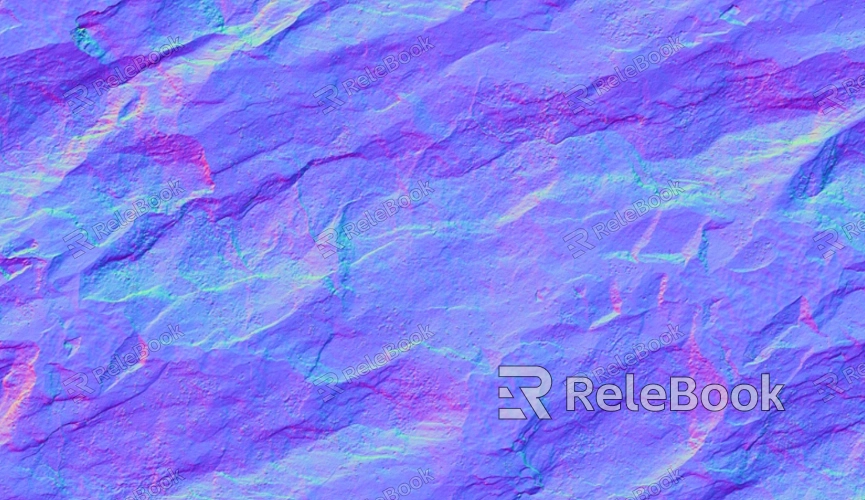
A normal map is a specialized texture that simulates surface details on a 3D model. Unlike a regular texture map, which adds color and patterns, a normal map affects the way light bounces off the surface of a model. By altering the surface normals (the vectors that dictate the direction a surface faces), normal maps create the appearance of intricate details like wrinkles, cracks, or raised patterns without requiring additional geometry.
These maps are typically represented in shades of blue, green, and red. Each color channel corresponds to a different axis in 3D space—red for the x-axis, green for the y-axis, and blue for the z-axis. The intensity of the colors dictates how much each part of the surface appears to slope or curve, creating the illusion of depth.
Tools for Creating Normal Maps
Several tools are available for generating normal maps from existing textures. The right tool for you will depend on your specific needs, familiarity with software, and budget.
1. Adobe Photoshop
Adobe Photoshop, with its extensive plugin support, is one of the most popular tools for creating normal maps. Plugins like NVIDIA’s Texture Tools or xNormal can be used to convert grayscale height maps or even full-color textures into normal maps.
2. xNormal
xNormal is a free tool specifically designed for generating normal maps and other texture types. It’s a powerful option for artists working with high-poly and low-poly model comparisons, where it excels in baking high-detail normal maps.
3. Blender
Blender, an open-source 3D creation suite, includes features for generating normal maps directly within its texture painting tools. It’s an excellent choice for artists who are already comfortable with 3D modeling and want an all-in-one solution.
4. Substance Painter
Substance Painter is a professional texturing tool that allows you to create highly detailed normal maps alongside other texture maps like albedo, roughness, and ambient occlusion. It’s widely used in the gaming and film industries for its powerful texturing capabilities.
Steps to Create a Normal Map from a Texture
Creating a normal map from an existing texture involves several steps, from preparing the texture to finalizing the normal map for use in your 3D model. The process will be outlined using Photoshop, but the principles apply to other tools as well.
1. Preparing the Texture
Start by ensuring your texture is ready for conversion. The texture should be clean and well-defined, with a clear contrast between the high and low areas that you want to emphasize in the normal map. If your texture is in color, consider converting it to grayscale to focus on the height information.
2. Using the Normal Map Plugin
In Photoshop, install the NVIDIA Texture Tools plugin if you haven’t already. Once installed, open your texture in Photoshop and navigate to the plugin via Filter > 3D > Generate Normal Map (or the equivalent path for your plugin). This tool will analyze the grayscale image and convert it into a normal map.
3. Adjusting Map Settings
After generating the initial normal map, you’ll have the opportunity to adjust settings like the scale of the effect, the intensity of the normals, and the level of detail. Tweak these settings to match the desired look for your model. For instance, increasing the scale might enhance the depth of the details, while adjusting the level of detail can help smooth out or sharpen the final effect.
4. Fine-Tuning in Photoshop
Once you’re satisfied with the initial result, you can further refine the normal map using Photoshop’s standard tools. For example, you might want to manually paint over areas that need more or less emphasis or use the Blur tool to soften harsh transitions.
5. Saving the Normal Map
After final adjustments, save the normal map in the appropriate format. Common formats include. PNG, .TGA, or.TIFF, depending on your workflow and the software you’re using to apply the normal map to your model.
Applying the Normal Map to a 3D Model
Once your normal map is ready, it’s time to apply it to your 3D model. This step will vary depending on the 3D software you’re using, but the general process remains consistent.
1. Importing the Normal Map
In your 3D software (such as Blender, Maya, or Substance Painter), locate the material editor or shading panel for your model. Import the normal map into the appropriate slot—typically labeled “Normal” or “Bump.”
2. Adjusting Material Settings
After importing the normal map, you may need to adjust the material settings to ensure the map is correctly interpreted. Look for settings that control the strength or intensity of the normal map effect. Depending on your software, you might also need to specify the map type (Tangent Space or Object Space).
3. Rendering and Testing
Finally, render your scene or preview the model in real time to ensure the normal map is functioning as expected. Check the surface under different lighting conditions to confirm that the details appear natural and enhance the overall realism of the model.
FAQ
What is the purpose of a normal map?
A normal map is used to simulate detailed surface textures on a 3D model by altering the way light interacts with the surface, creating the illusion of depth without adding extra geometry.
Can I create a normal map from any texture?
Yes, you can create a normal map from almost any texture, though the quality of the results depends on the clarity and contrast of the original texture.
Which software is best for creating normal maps?
Popular tools for creating normal maps include Adobe Photoshop (with plugins), xNormal, Blender, and Substance Painter. The best choice depends on your specific needs and experience level.
How do I apply a normal map to my 3D model?
To apply a normal map, import it into your 3D software’s material editor and assign it to the model’s surface. Adjust the material settings to fine-tune the effect.
What file format should I use for saving normal maps?
Normal maps are commonly saved in formats like. PNG, .TGA, or.TIFF, depending on your workflow and the software you’re using.
